What will you learn?
In this step-by-step guide, you will learn how to download and install the Journey Map mod for Minecraft. Keep in mind that this is a mod, therefore, you will need either Forge or Fabric in order to run the JourneyMap mod successfully.
JourneyMap is a mod for Minecraft that provides an in-game map of the player’s surroundings. The map can be viewed in a web browser, and can also be configured to show the player’s location, nearby mobs, and other information. Additionally, JourneyMap allows players to set waypoints, which can be used to mark important locations or to navigate to a specific point in the game. The mod is available for both the Java and Bedrock editions of Minecraft.
Guide
Step 1
Click the button on the right labeled as JourneyMap to redirect you to the JourneyMap download website.

Step 2
Now select which version or instance of the JourneyMap Mod you want to download. For this tutorial we will be using the Forge instance and the Minecraft 1.19.3 version, which at the moment of making this guide is the newest one, however, feel free to use the version you desire.
Note that it is a requirement that you either have Fabric or Forge installed, fortunately we have guides on how to do so, just click either of the names and you will be redirected.

After you click the download button, you should see the download start automatically after five seconds.

Step 3
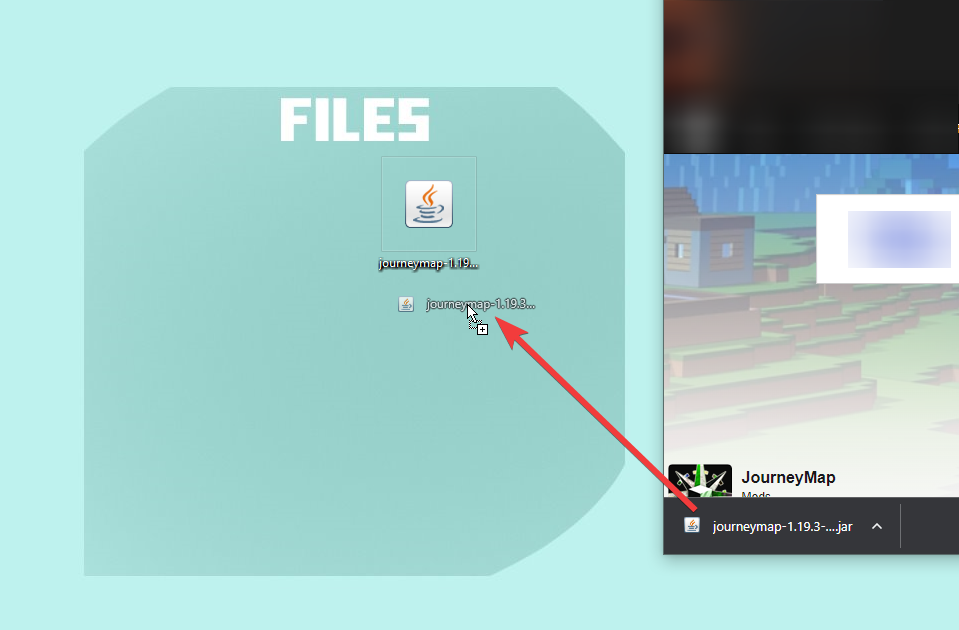
Go ahead and drag and drop the JourneyMap mod file to your desktop.
You can also find the jar file in your downloads folder using the file explorer.
Step 4
Go ahead and open your Minecraft launcher and select the Installations’ menu right on top in the launcher next to the Play and Skins Menu.

Once in here go ahead and click the folder icon right next to your Forge or Fabric installation, remember, we are using the forge version for this tutorial.

Step 5
Once the forge instance folder opens, you should see a lot of other folders and files in here. You are looking for a folder named “mods”, if this folder does not exist, go ahead and create a folder named “mods”
You can create a new folder by pressing Right Click>New>Folder.

Step 6
Go ahead and drag and drop the JourneyMap Mod file inside the mods folder that we located or created inside the forge or fabric instance of Minecraft.

Now go ahead and close this folder and open the Forge or Fabric instance of the game that we added the mod to, in this case, is forge.

Step 7
Once the game opens, check that you have at least 3 mods loaded on the bottom left if you are using forge like us.
Then go ahead and click where it says mods.

Explore between your mods until you find the JourneyMap mod, if the mod shows it means you have successfully installed the JourneyMap mod in Minecraft.

You are now ready to launch your worlds, either Single-player or Multiplayer, are compatible with the JourneyMap Mod.
Done!
You have finally installed the JourneyMap mod for Minecraft successfully. Let us know if this guide was useful or how we can improve for the next one. Feel free to try other mods from www.curseforge.com, this is not a sponsored link, it is just our preference of a site we really trust and enjoy.