Are you ready to update to the latest Java version?
Java 21, also known as JDK 21, is the current release, and this article will guide you through the process of downloading and installing it on Windows 10 and Windows 11. Whether you are a beginner or an experienced developer, this guide will help you set up Java on your system efficiently.
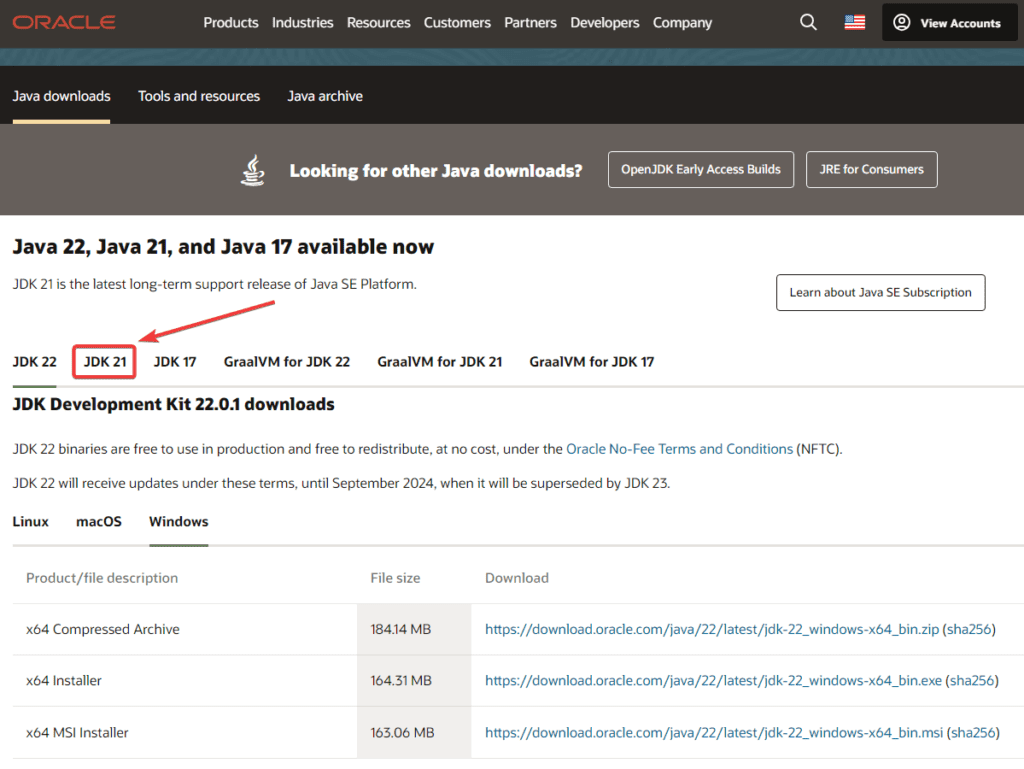
How to Download JDK 21

Start by opening your preferred web browser (You can also click the button above). In the address bar, type “Oracle Java” and hit enter. This will lead you to the official Oracle website. Once there, navigate to the “Downloads” section, where you will find Java 21 available. Click on the JDK 21 link for Windows.

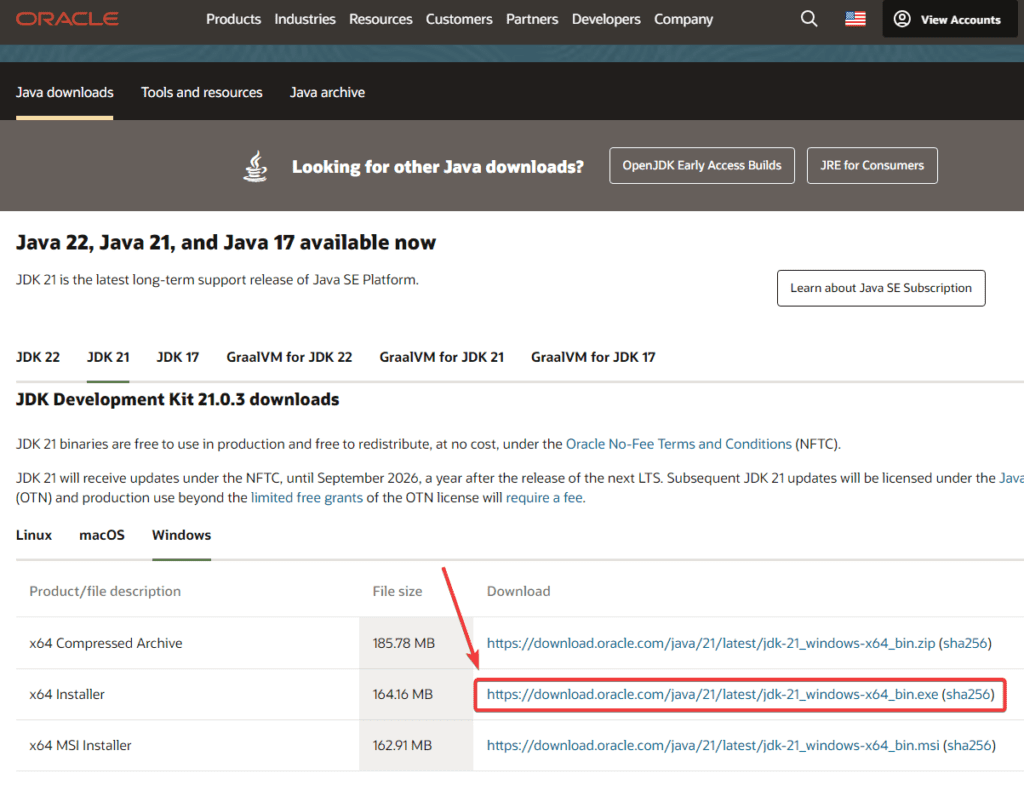
Choosing the Right Java for You
You will see an option for “JDK 21 A1 for Windows.” Click on this link, and then select the executable installer file, typically around 160-164 MB in size. Click on the file to start the download. Wait a few seconds until the download completes.
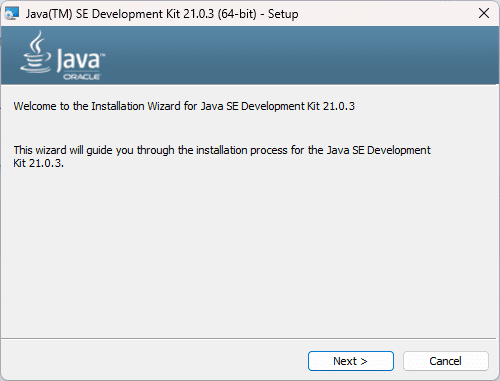
How to Install Java 21
Once downloaded, locate the EXE file in your downloads’ folder. Right-click on it and select “Open” to launch the installation wizard.
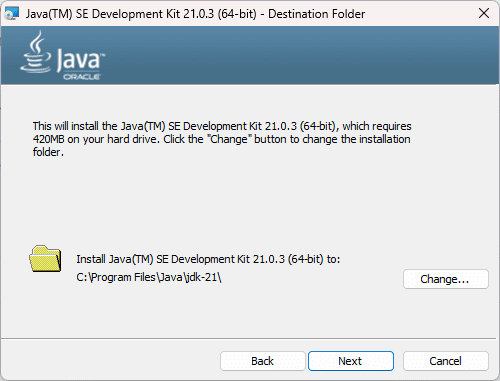
Follow the prompts in the installer. You will be asked to choose the installation path, which by default is under “C:/Program Files/Java”.
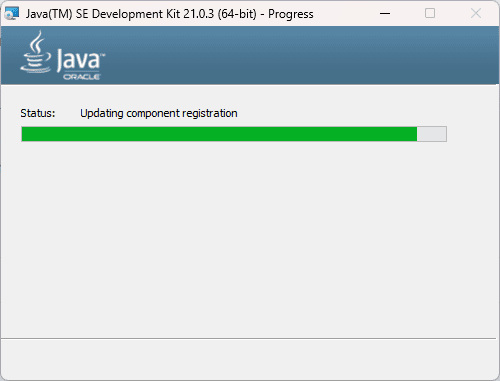
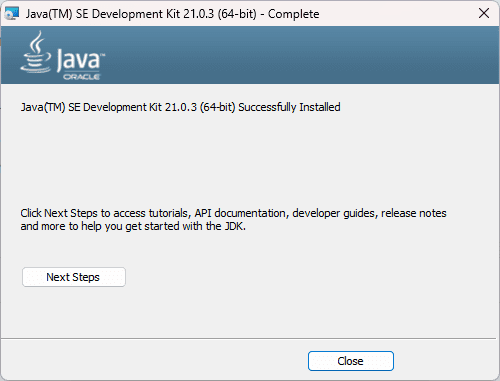
Accept the default or specify another location if desired. Proceed with the installation by clicking “Next” until it completes and then click “Close.”
Conclusion
By following the previous steps, you can successfully download and install Java 21 on your Windows system. Whether you’re preparing to develop Java applications or just need to run Java-based software, setting up JDK 21 is essential.
Thank you for following this guide on how to install Java JDK 21. If you have any questions or encounter issues, feel free to leave a comment below.