

What will you learn?
In this step-by-step guide, you will learn how to create a Purpur server for Minecraft.
Requirements
- Java 17
- Internet Connection
What is Purpur?
Purpur is a replacement for the well known Minecraft Paper Server. According to the Purpur creators, “Purpur is a drop-in replacement for Paper servers designed for configurability and new, fun, exciting gameplay features.”
Guide
Step 1 – Download Purpur MC Server File
Click the button on the right to be redirected to the Purpur Server download website.


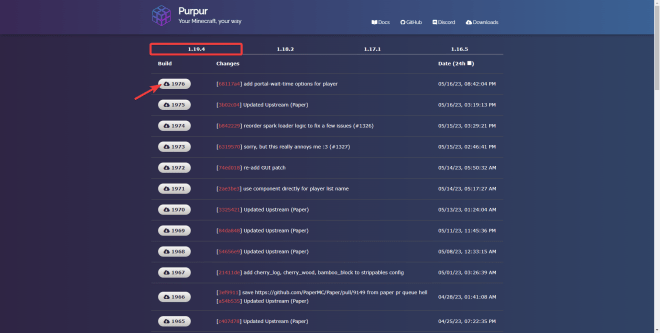
Once you are in the Purpur website, go ahead and click the “See all builds” button.


You will then be presented with all the recent versions and builds of Purpur, select your desired build of Purpur, in this guide we will be using the most recent build for Minecraft 1.19.4.
You can find your downloaded file in your Recent Downloads


Step 2 – Create a Purpur MC Server
Create a new folder and name it whatever you want.
Drag and drop the file we downloaded from the Purpur website into the new folder we just created.


Inside the same folder, go ahead and create a new text document.
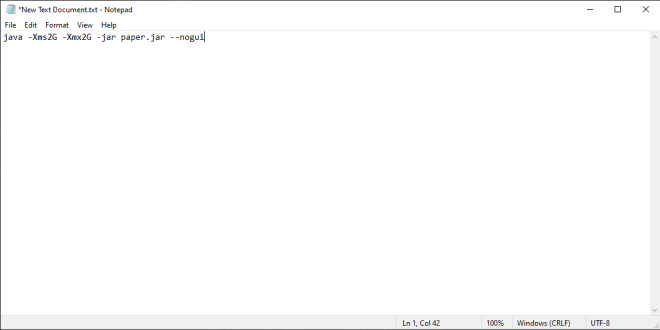
Open the document and type:
java -Xms2G -Xmx2G -jar paper.jar --nogui.
The amount of RAM can be set by changing the numbers in the -Xms and -Xmx arguments, in this example we are using 2G, but you can use more, like 4G or 8G, it all depends on how much ram you have and how much ram you can allocate to Purpur.

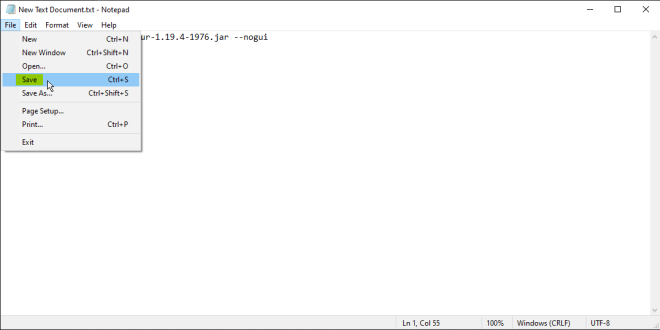
Ensure you replace paper.jar with the name of the jar you have downloaded, in this case we are going to type purpur-1.19.4-1976.jar, however, make sure you type the right name for your specific instance.


Then go ahead and save the text document and exit it.
Rename the New Text Document to:
start.bat
(Do not launch it yet)


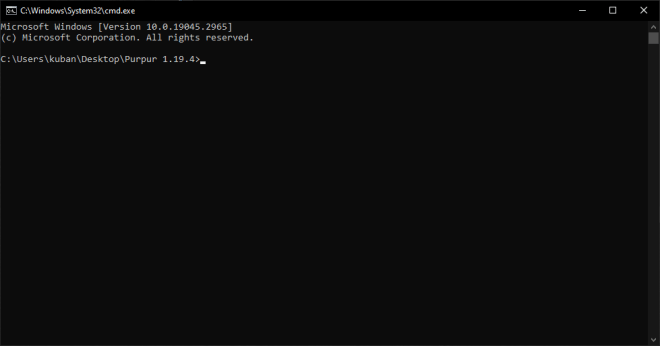
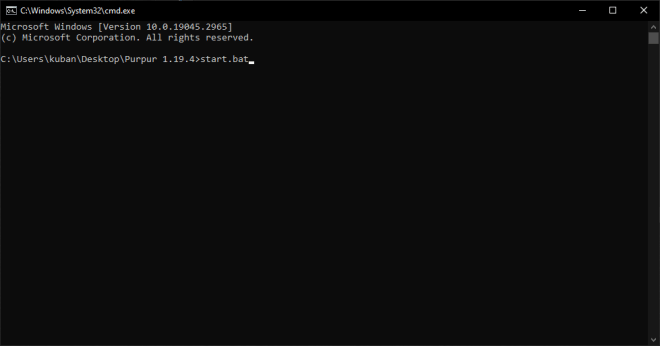
Click in the address bar inside the folder and type cmd and then press enter.

Now you should see the cmd.exe open, it should look similar to the next image

Go ahead and type start.bat and press enter
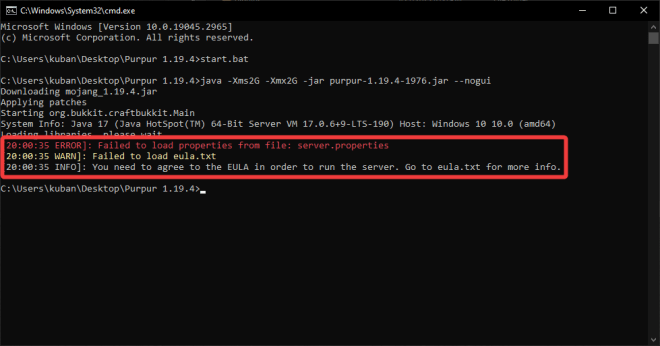
After you press enter, the server will start creating itself, however, it will stop and give you the following errors:
“Failed to load properties from file: server.properties”
“Failed to load eula.txt”
See the image below for reference
Do not close the cmd.exe window, just minimize it.
The Purpur server won’t finish creating itself if we do not accept the eula file.
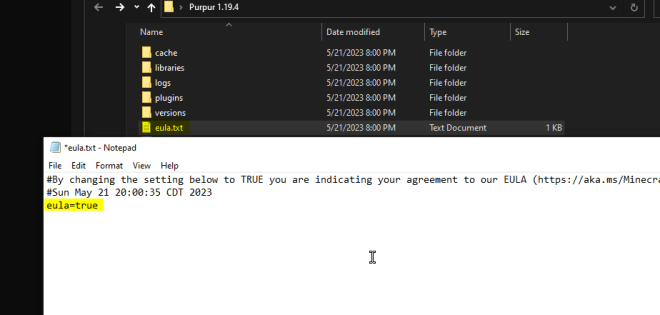
Check the folder where we are running the server and find a file called eula.txt
Open this file, find the string that says eula=false and change it to eula=true

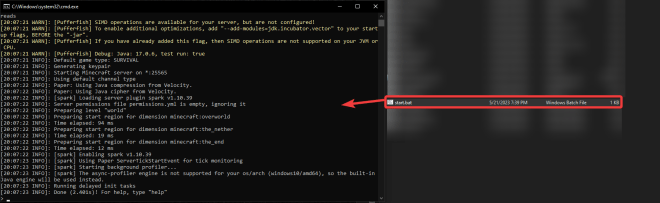
Now go back to the cmd.exe, find the last string, and type start.bat and press enter
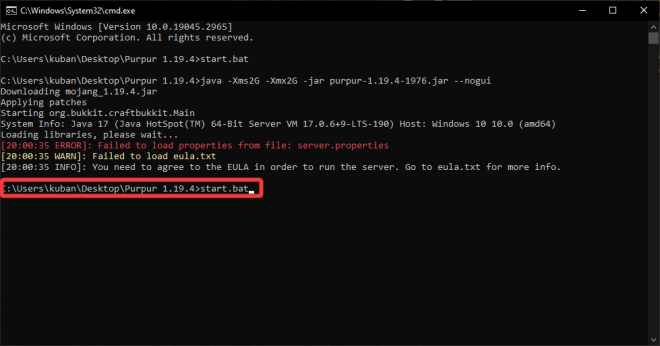
Now the server will fully create and launch, you will know you have created your Purpur server properly because the last text string withing your cmd.exe will say Done (time)! For help, type “help”

Step 3 – Join Purpur MC Server
First we need to stop our server from running.
Click on a new line within the cmd.exe window, type stop and press enter.


Now within the cmd.exe window select a new line, type ipconfig and press enter
You will now get a lot of information regarding your internet connection, however, you are just looking for a string named IPv4 Address…………….(Local IP Address)
Copy your local IP Address, in this example the number is 192.168.1.2, this number will vary for some of you.
After you copied the Local IPv4 Address, go ahead and close the Command Prompt (cmd.exe)

Now double-click the start.bat file to launch your Purpur MC Server.

Open your Minecraft game using the matching version of your Purpur MC server, in this guide we are using 1.19.4.
Once inside Minecraft, head over to the Multiplayer menu, and click Add Server.


Find the Server Address tab and paste your Local IPv4 Address we have copied to our clipboard earlier, you can name the Server Name whatever you prefer, in this example we are leaving it on default.
Now click Done.


Find your newly added Purpur Server withing your Multiplayer menu, and feel free to join it.

After you have joined your Purpur MC server, you will be able to see the log within the server console (start.bat), you can control the server using your console.
Keep in mind that if you want to make yourself an admin, then type the following in the console:
op yourusername
Make sure you use your username from Minecraft, for example, if I were to do it I would type:
op itzCuba


Step 4 – Enjoy your new Purpur MC Server
Now we have successfully created a Purpur MC Server, the upgrade for the old Paper MC servers for Minecraft.
Now you might want to play using some of the Top 50 Client side mods for Minecraft.


